
THE PROCESS
HARDWARE AND TOOLS USED
- Rhinoceros V5
- Adobe Illustrator
- 3DSMAX 2016
- V-Ray RENDERING ENGINE
- Fusion 360
MODELING THE OBJECT
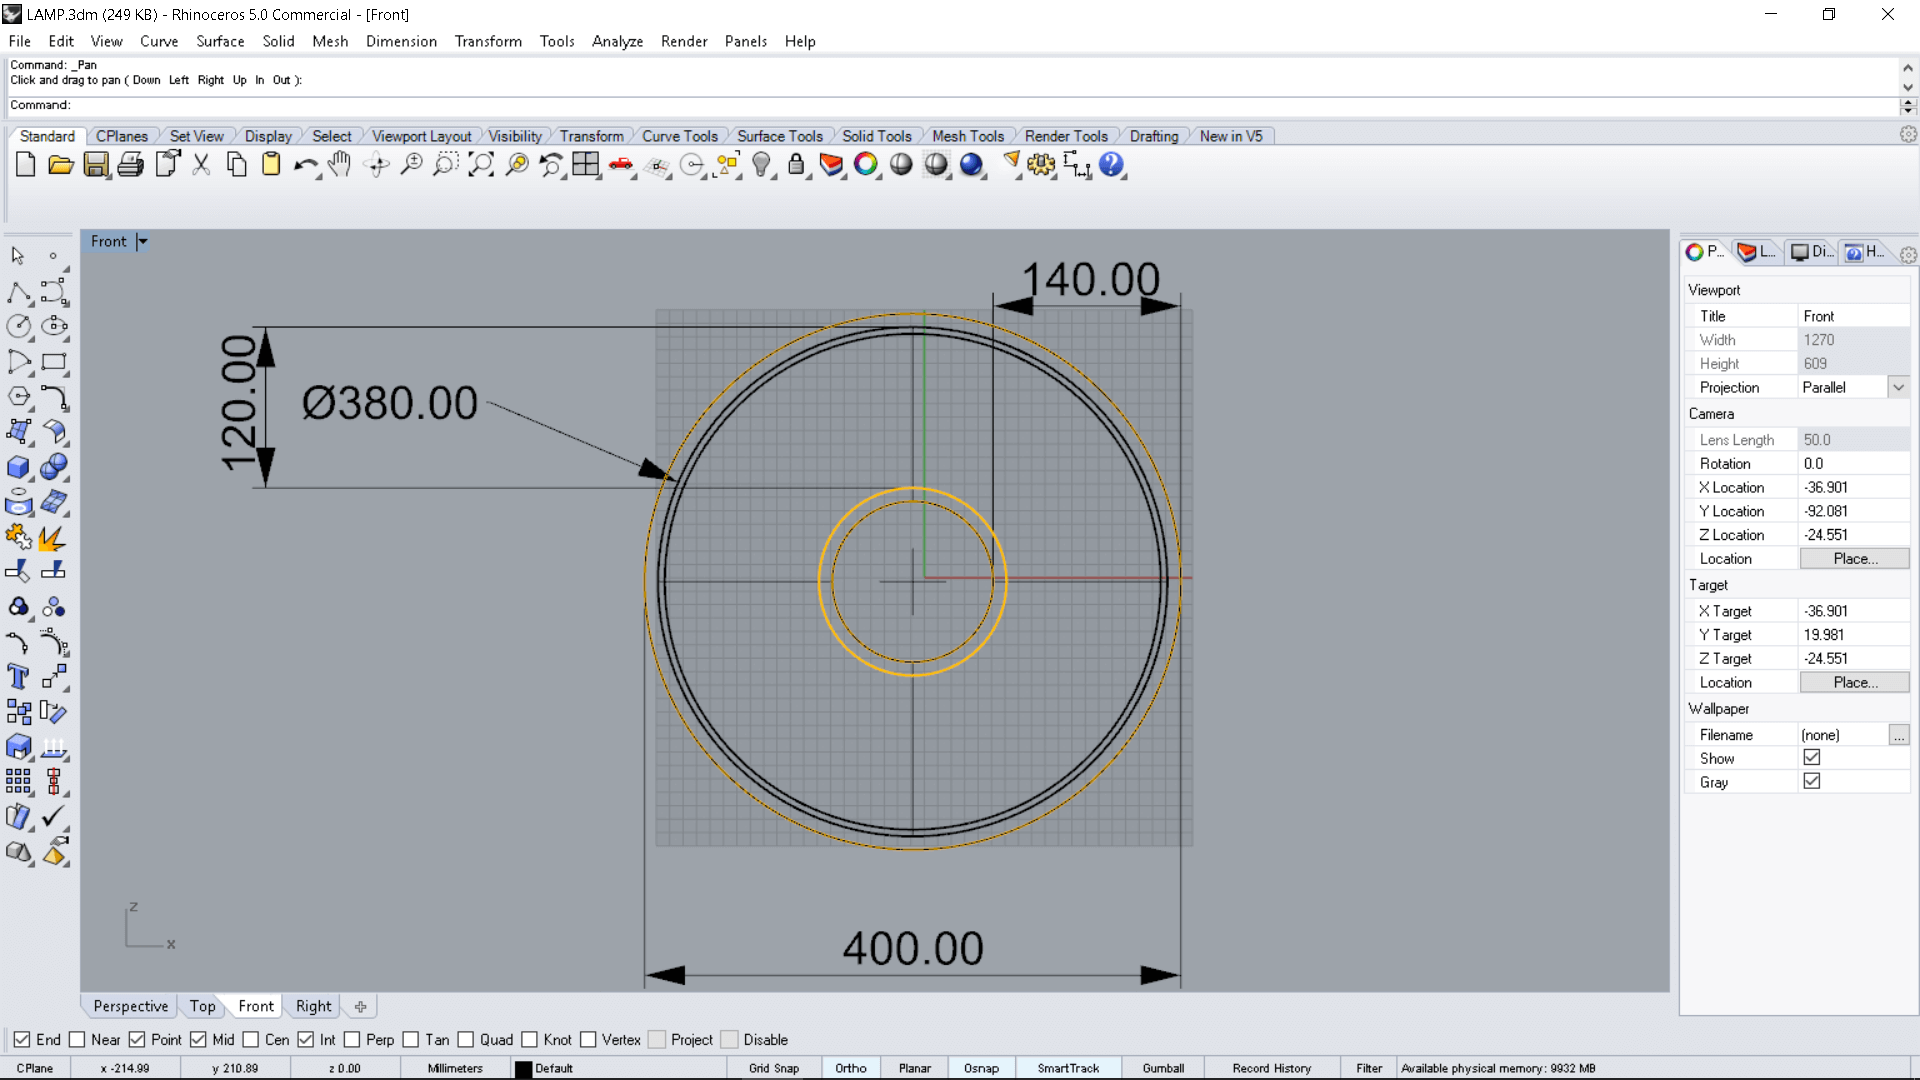
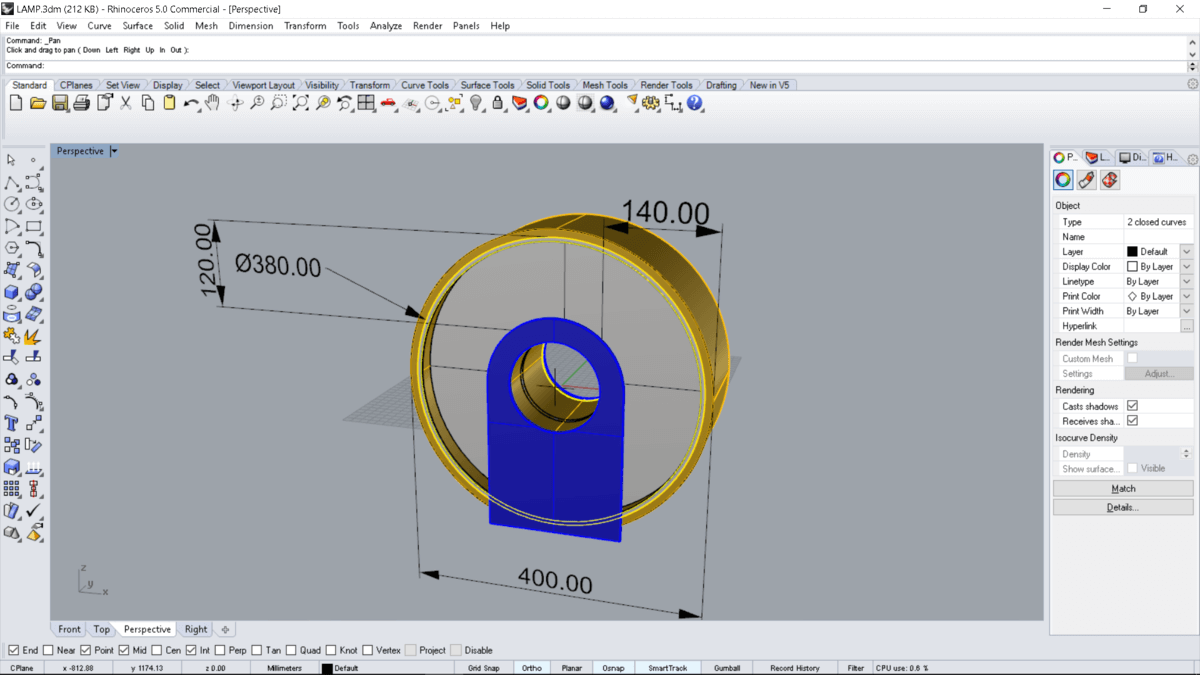
For this assignment I chose to use Rhino3D for modeling the lamp first I started with drawing all the 2D shapes based on the specified dimensions and then I used extrude planer curve tool for adding volume for the shapes. For modeling the origami donut shaped part which will cover the light source I decided to model that in 3Dsmax since this part will be animated later on.
For extuding 2D planer curve first you have to choose any planer closed curve and then form the solid menu choose extrude planer curve > Stright
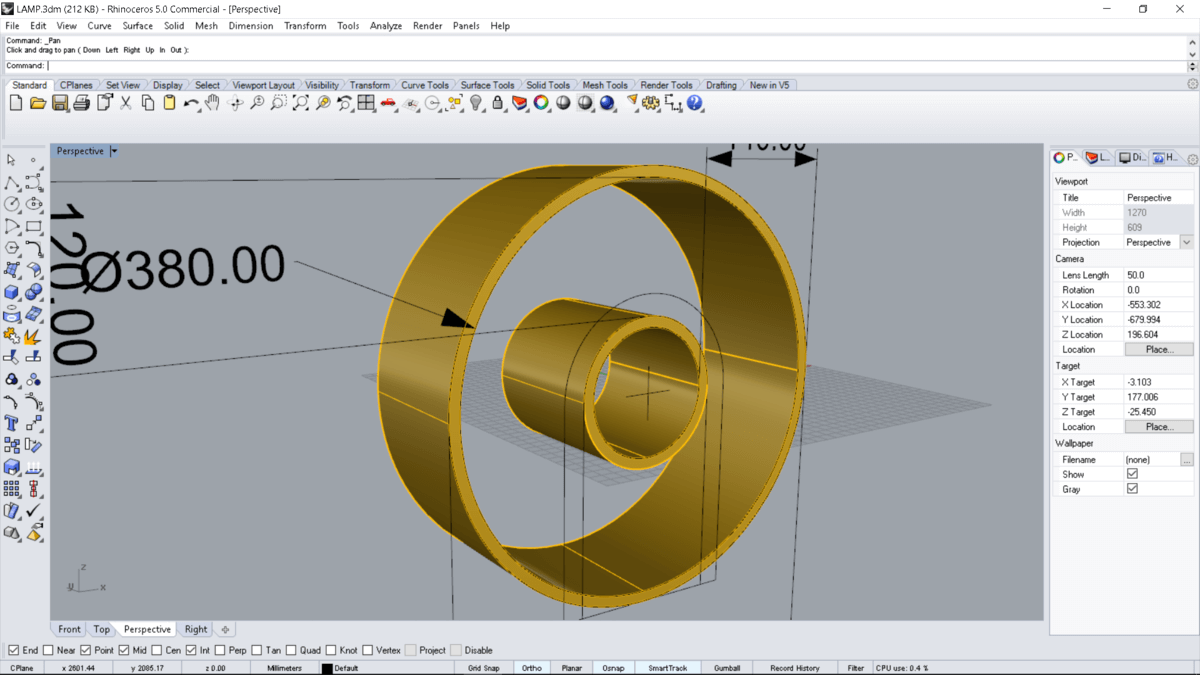
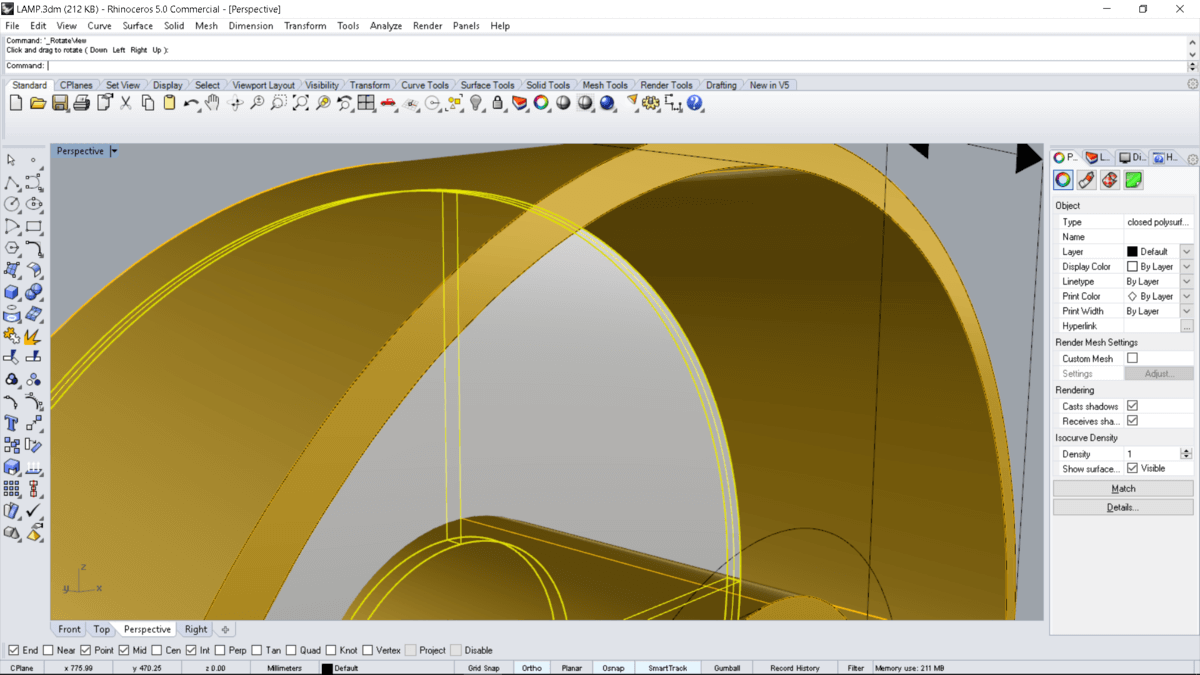
After finlaizng modeling all the parts of the lamp
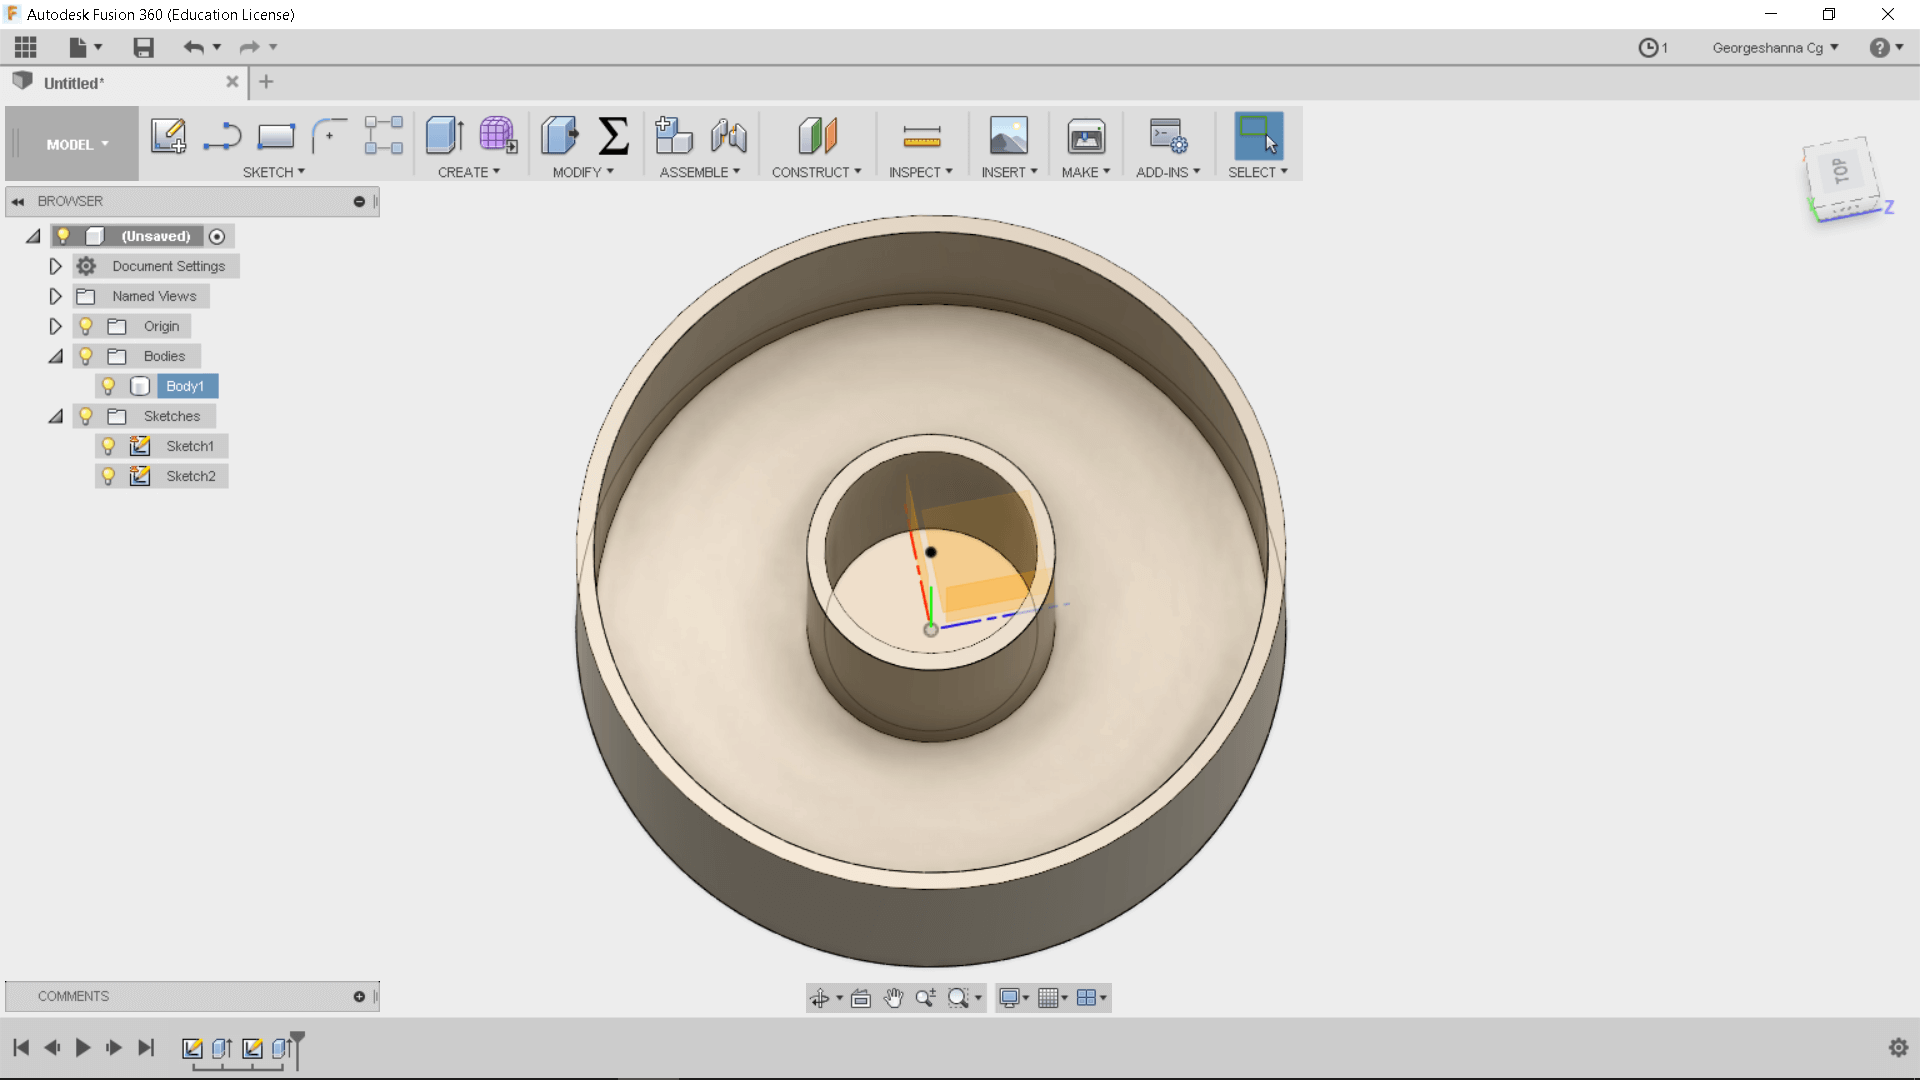
TRYING DIFFRENT 3D MODELING PACKAGE ( FUSION 360 )
To decide which 3D software I'll be using for my final project I decided to model any part of the lamp in Fusion 360 so I can compare the work flow between the two software and note similarities and differences .
However, I decided to model the donut-shaped wooden frame of the lamp based on the same dimensions that I used in Rhino, so after sketching the main shapes quickly I used the extrude tool for adding volume for the shapes.
My overall impression on using Fusion 360 was a great, It is a great software for 3D solid modelling and advanced TSpline surface modelling that offers fantastic usability and performance. The software runs on Mac or Windows which is nice for a mixed environment. Fusion 360 also supports parametric modelling.
As for Rhino, I notice that it has better control over curves and surfaces and it is awesome for creating complex curvaceous model with great accuracy in addition to that it supports importing and exporting to other software such as CAD and 3ds MAX.
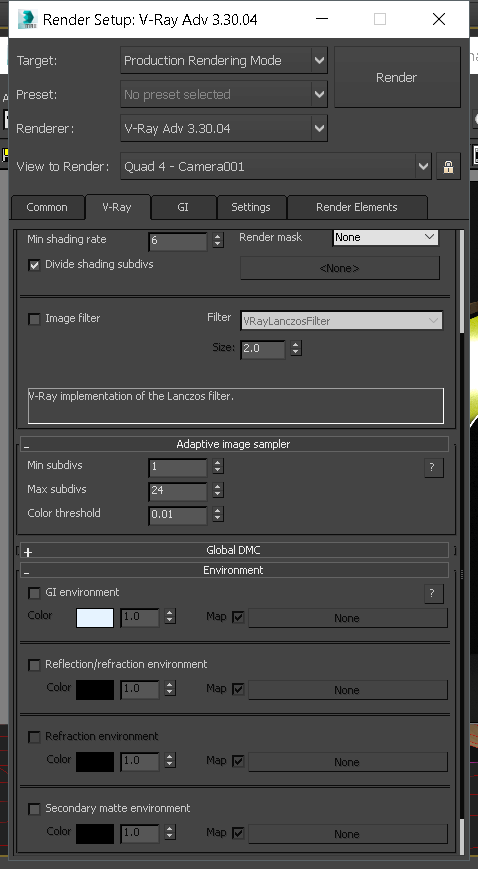
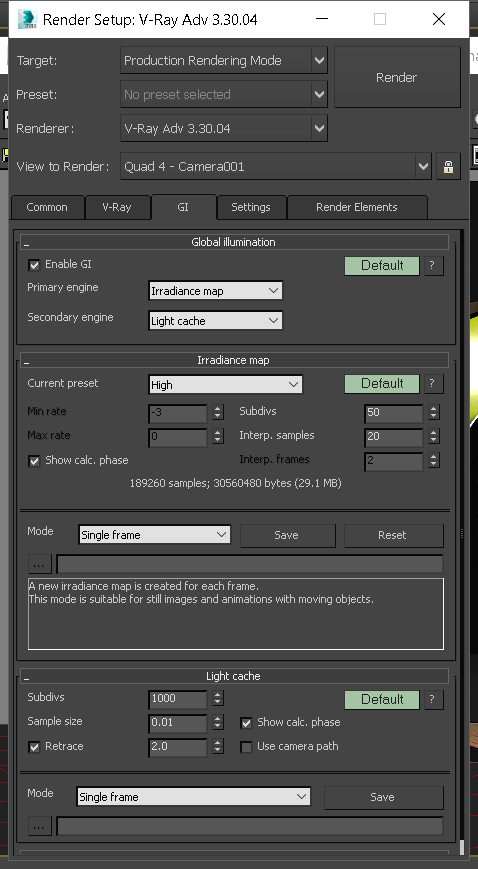
ANIMATING AND RENDERING THE OBJECT
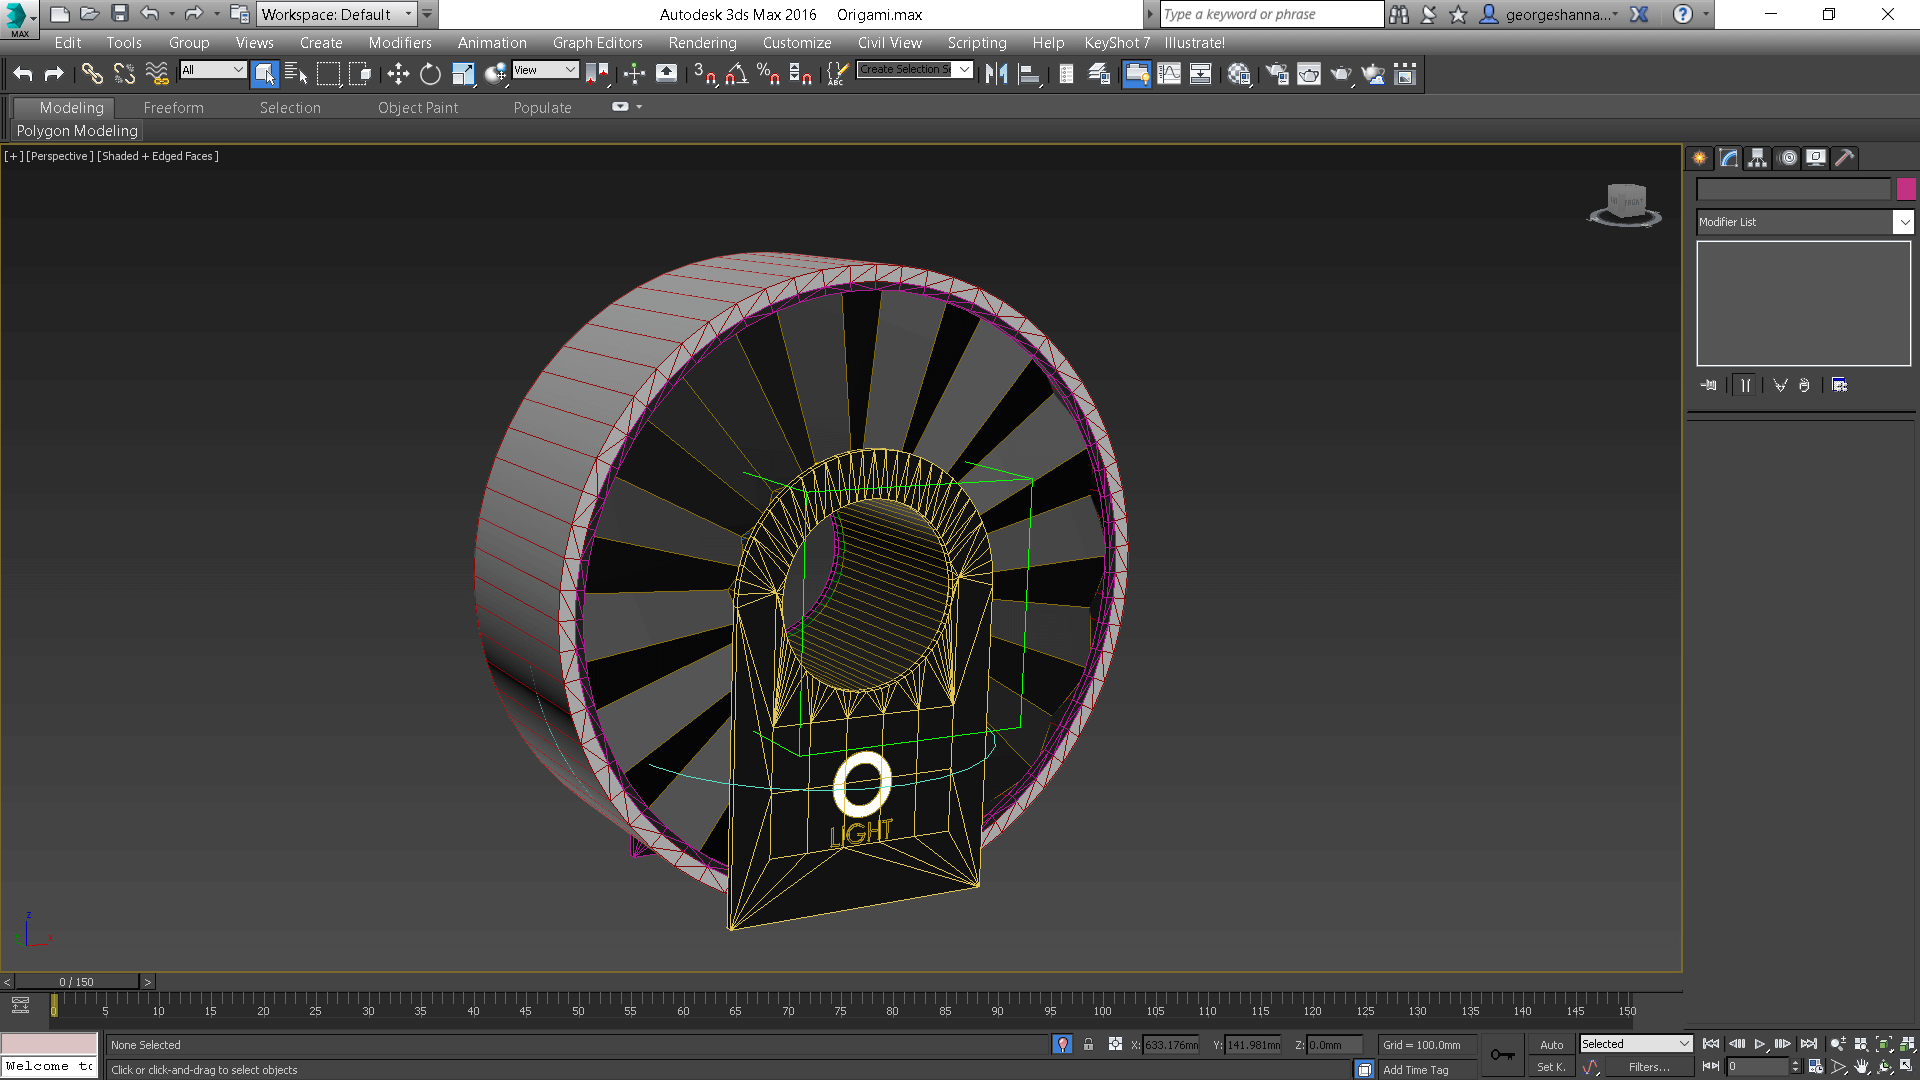
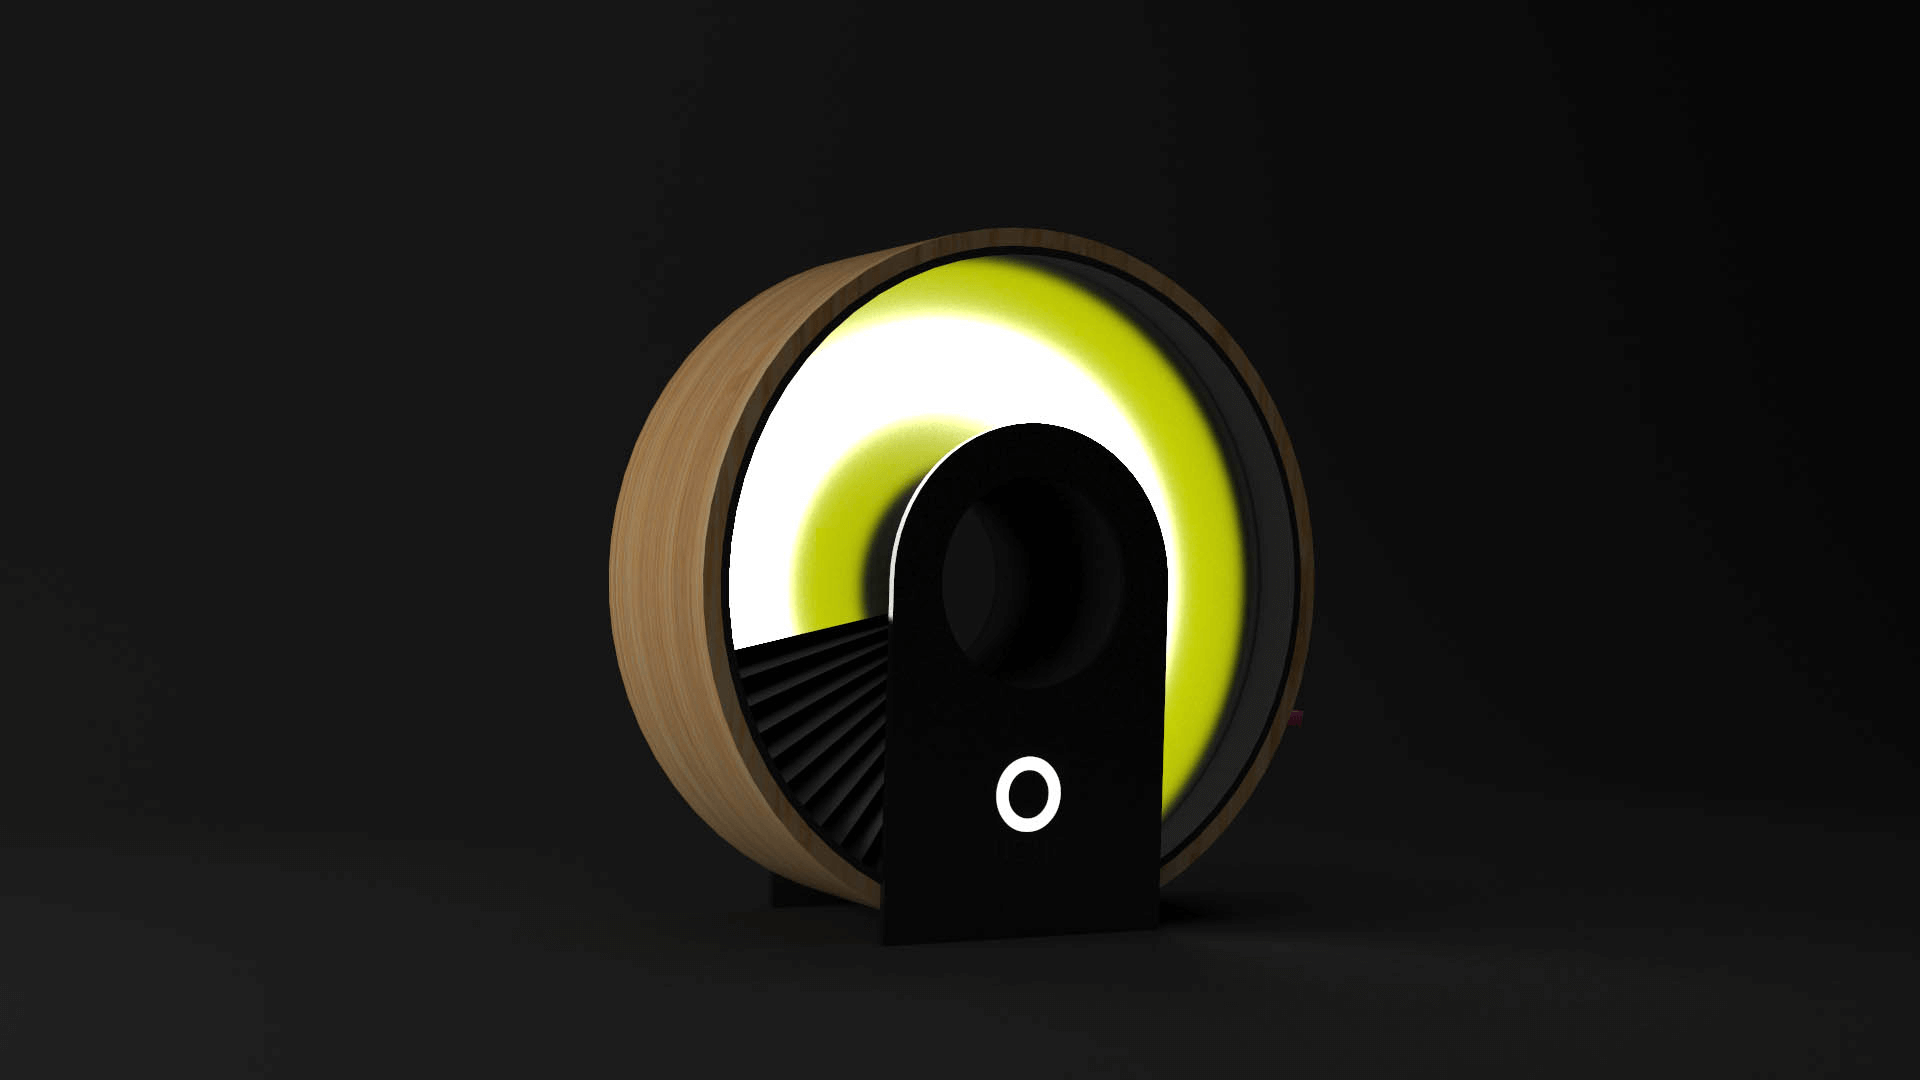
After finalizing the modeling part I exported the model to 3DSmax in obj format in order to render and animate it so first I decided to work on the animation part for animating the donut shape curtain which will mask out the light source I used a tool called morpher, Morpher tool is a very helpful tool when you want to change the shape of one mesh to another in addition to that the tool also supports material morphing. Morphing modifier is commonly used for lip sync and facial expression on a 3D character, but can be used to change the shape of any 3D model. The modifier provides 100 channels for morph targets and materials. You can mix channel percentages and use the result of the mix to create a new target.
In preview number 16 I showed the process of animating the origami paper donut shaped using morpher modifier.
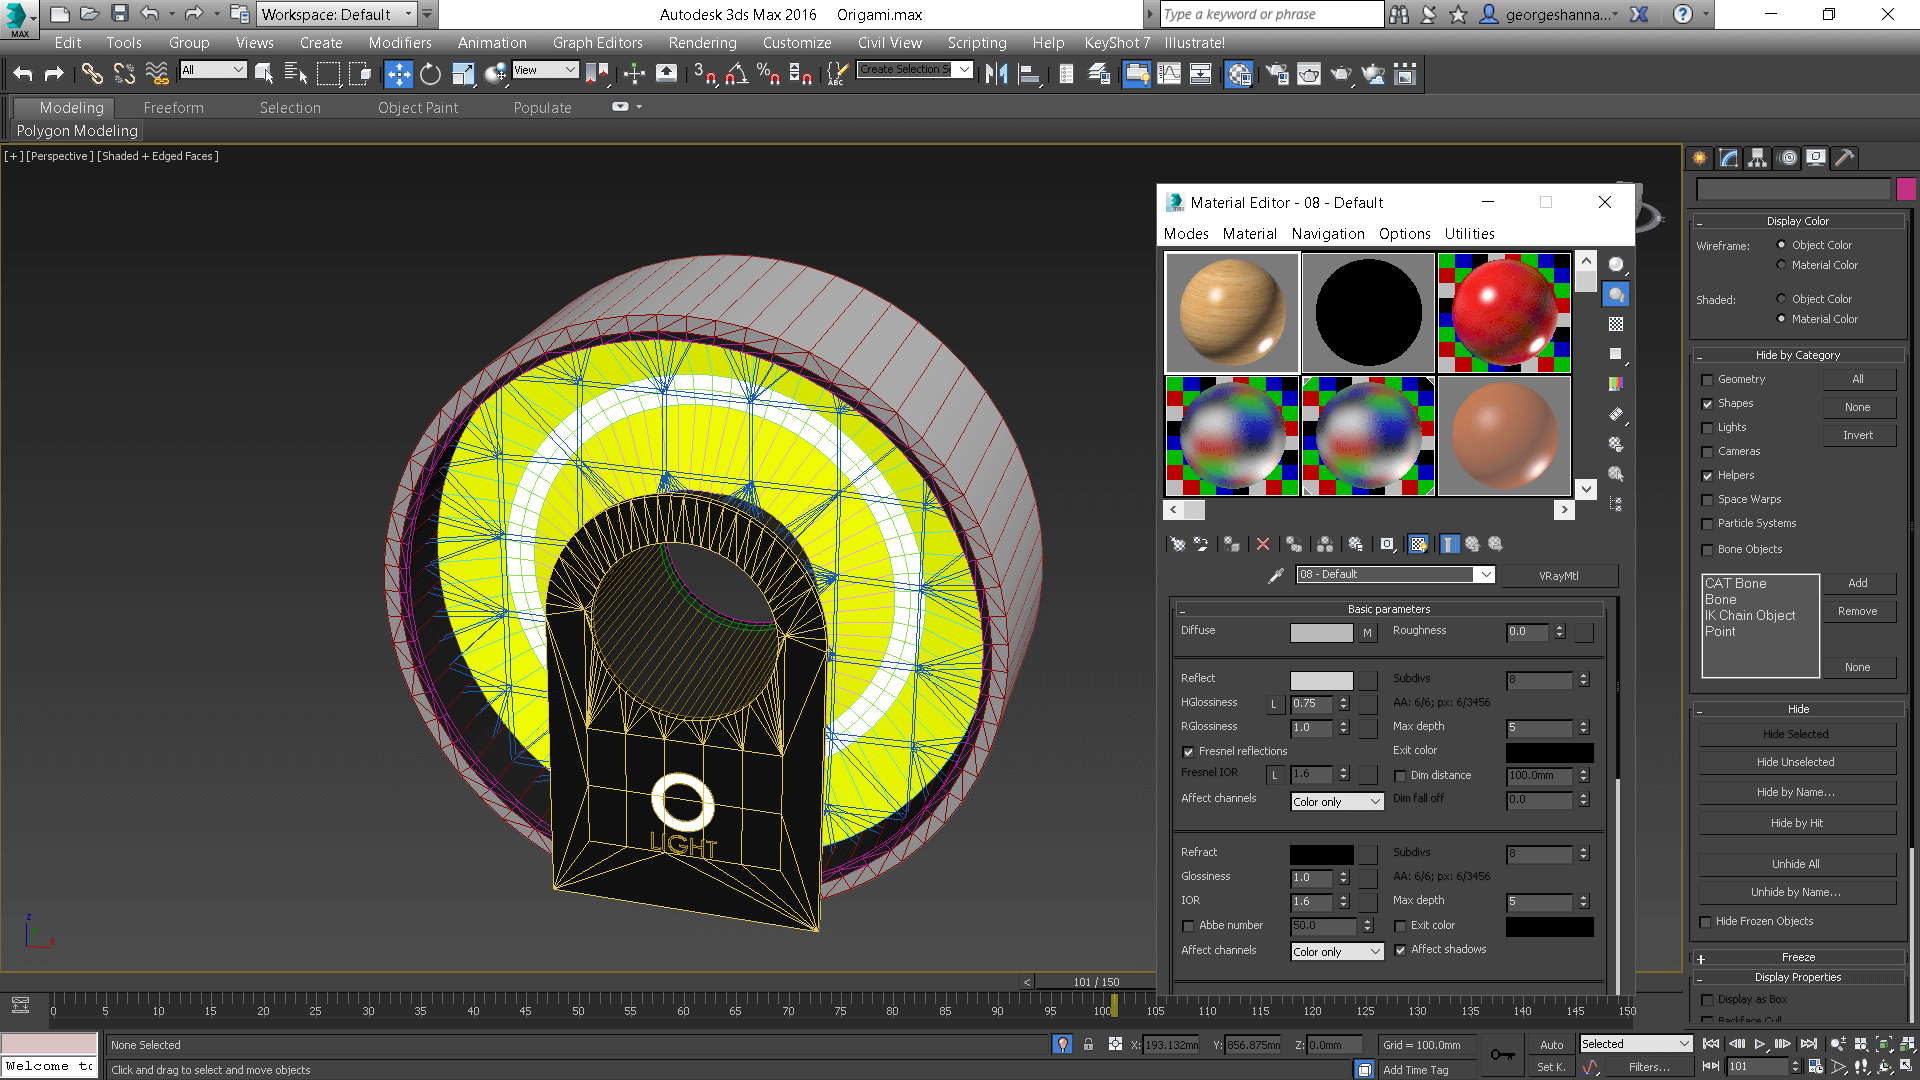
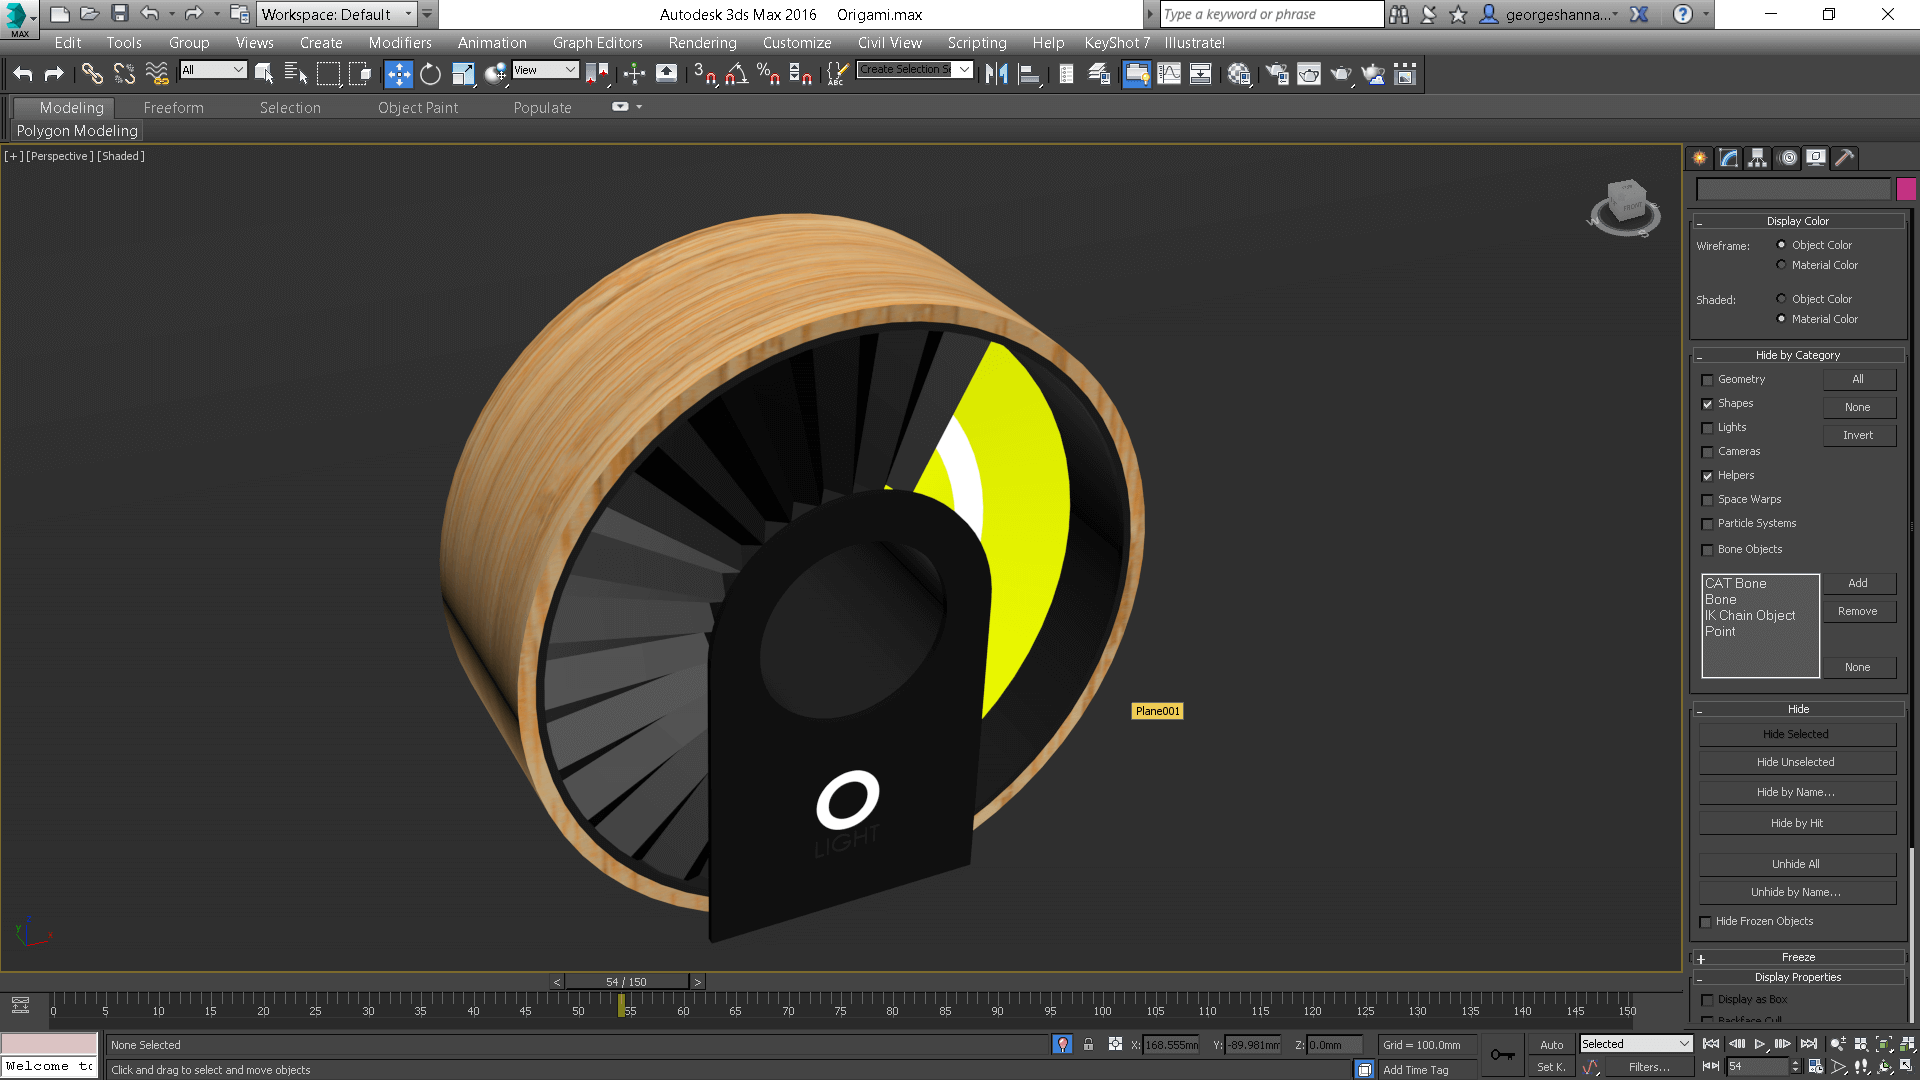
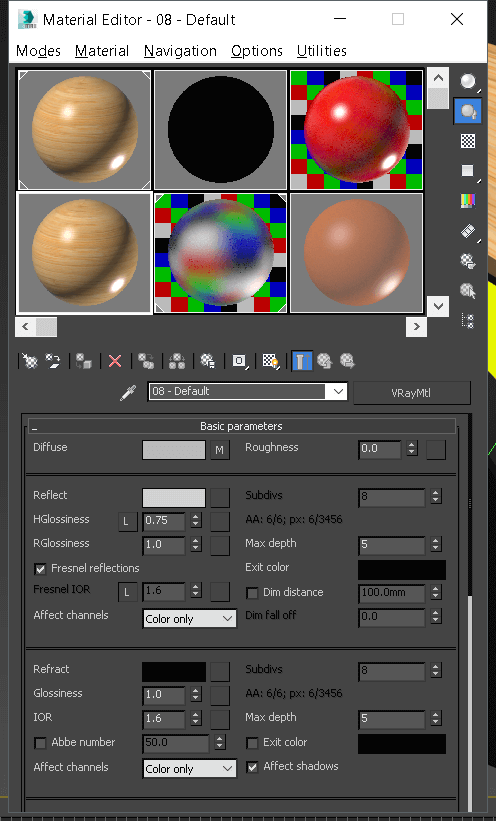
Then I started to apply texture for all the parts for the outer shape I used bamboo wood texture and for the base I used a mat black texture.
Materials are like paint. With materials, you make wood brown and sky blue. You put the shine in chrome and the polish on glass. By applying maps, you can add images, patterns, and even surface texture to objects. Materials are what make your scenes look real. Mapping is a method of projecting materials onto surfaces.
USEFUL TIPS & LINKS
+ The compact material editor is usually more convenient when you want simply to assign materials that have already been designed. The Slate Material Editor, which takes up more screen space, is more convenient for designing materials. .
+ Note: If you open the large Slate Material Editor by mistake, then from the Material Editor toolbar choose Modes Compact Material Editor. .
+ 3ds Max Tutorial - Adding material HERE.
+ 3ds Max Tutorial - V-RAY for Beginner HERE.
+ Rhino 3D Beginners tutorial and Tips HERE.
+ Adobe Illustrator tutorial ( design a camera ) HERE.
+ In computer-controlled cutting week I used Adobe Illustrator to make a vinyl sticker for my mouse bad HERE.
DOWNLOAD SECTION
+ lAMP WOODEN FRAME v1.f3d DOWNLOAD .
+ LAMP.3dm DOWNLOAD .
+ Origami.max DOWNLOAD .
+ Origami.max DOWNLOAD .
+ lAMP WOODEN FRAME.stl DOWNLOAD .
+ LAMP.stl DOWNLOAD .
+ Origami.obj DOWNLOAD .